

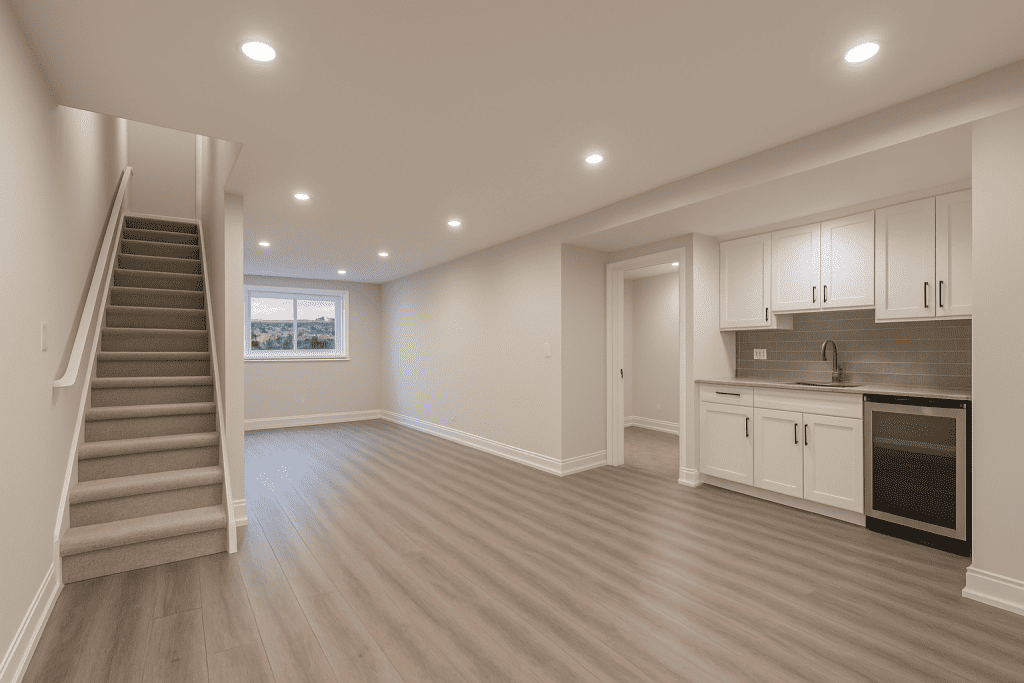
A basement renovation presents an opportunity to rethink an entire level of the home. Unlike decorating an existing room, basement work often begins with structural realities, mechanical systems, limited daylight, and unfinished surfaces. That makes early planning particularly important.
Instead of starting with paint colours or furniture, homeowners can benefit from building the project around function, comfort, and flexibility.
Step 1: Evaluate the Space
Every basement renovation should begin with a careful assessment. Check the condition of floors and walls, observe signs of moisture, note ceiling heights, and identify mechanical or plumbing equipment.
Understanding these conditions early can prevent later design conflicts.
Map the Fixed Features
Mark stairs, windows, support posts, electrical panels, plumbing, ducts, and utility equipment on the initial plan.
These features influence where rooms, storage, lighting, and pathways can be placed.
Step 2: Establish Priorities
Think about what the household currently lacks. Is another gathering area needed? Would a dedicated workspace improve daily routines? Is storage becoming difficult upstairs?
A basement renovation works best when it solves specific problems.
Create primary and secondary priorities. This approach makes decision-making easier when space must accommodate several functions.
Step 3: Build a Logical Floor Plan
Good circulation can make even a modest basement feel comfortable. Keep frequently used areas easy to reach and avoid forcing people through one activity zone to access another.
Place storage in less prominent areas and preserve open space where it contributes to flexibility.
Consider Future Changes
Today’s exercise room may eventually become a hobby area. A children’s play zone may later become a study space.
Designing adaptable rooms can extend the useful life of a basement renovation.
Step 4: Plan Lighting Carefully
Lighting is essential below grade. Start with ambient lighting that distributes brightness evenly, then add task fixtures where specific activities occur.
Accent lighting can soften the atmosphere and highlight selected architectural features.
Where windows are available, arrange the floor plan to take advantage of natural light.
Step 5: Incorporate Storage
Storage can disappear quickly when a basement becomes living space. To avoid simply relocating clutter, identify storage requirements before construction.
Built-in cabinets, closets, shelves, and under-stair solutions can preserve organization while keeping the finished room visually clean.
Homeowners researching local renovation guidance can discuss how storage might fit around existing basement constraints.
Step 6: Choose Practical Finishes
Material selection should reflect the basement environment and intended use. Consider durability, cleaning requirements, comfort, and moisture conditions.
For active family spaces, easy-maintenance surfaces may be preferable. For quieter rooms, softer finishes can contribute to comfort and acoustics.
Step 7: Review Everyday Details
Before finalizing a basement renovation, imagine using the finished rooms. Where will devices be plugged in? Where will coats, games, exercise equipment, or office supplies go? Is lighting conveniently controlled?
These details often determine whether the finished basement merely looks good or actually works well.
Conclusion
A basement renovation becomes easier to manage when decisions follow a logical sequence. Start by understanding existing conditions, define how the space should function, develop sensible circulation, and then address lighting, storage, materials, and finishing details. This method keeps practical requirements at the center of the project while still leaving room for personal style. With thoughtful preparation, an unfinished or outdated basement can evolve into comfortable, flexible space that supports changing household needs for years.
